Export 3D scan data from a tag's bounding box as a point cloud or mesh file. Use this to bring tagged segments into external tools like Revit, CloudCompare, or Navisworks for as-built analysis, BIM integration, or visualization.
TABLE OF CONTENTS
Contact us via sales@cintoo.com to know more about the upgrade.
Learn more about editions BIM and TWIN.
Overview
Cintoo allows exporting 3D scan data contained inside a tag's bounding box. This is different from exporting a tag list as CSV, which exports tag metadata only (IDs, coordinates, custom fields).
Two export types are available:
- Point cloud export - extracts raw scan points inside the tag's bounding box and saves them as a point cloud file. The export is configured and downloaded via Cintoo Connect. Useful for detailed as-built analysis and comparison workflows.
- Mesh export - converts scan data inside the tag's bounding box into a 3D mesh surface. The export is configured directly in the web app and the result is saved in the active work zone, visible in the file structure under the Data tab. Useful for visualization, BIM integration, and lightweight sharing.
Export a Tag as Point Cloud
Point cloud export is handled via Cintoo Connect. Clicking the export button opens Cintoo Connect on the export screen, pre-loaded with the tag data.
The steps below apply from either Tag Explorer or Resource Explorer. There must be at least one tag list with tags in the project. See Creating Tags in Cintoo for more information.
- Open 3D View with at least one scan visible.
- Toggle on a tag list and select a tag to export.
- Right-click the tag or click the three-dot icon next to the tag in the list.
- Select Export as point cloud.

- Cintoo Connect opens on the export screen. Tag name, scan list, and bounding box data are pre-filled.

- In Cintoo Connect, configure the export:
- Format - select the desired output format:
Format Extension Notes E57 .e57Industry-standard format. Compatible with most point cloud software. RCP/RCS .rcp/.rcsAutodesk ReCap format. Use for Revit, Navisworks, or AutoCAD workflows. POD .podBentley Point Tools format. Use for MicroStation and related products. - Spacing - controls the minimum distance between exported points. A smaller value produces a denser point cloud and a larger file.
- Data to process in parallel - adjust to process more than 2 scans (default) in parallel if the PC is multi-core.
- Destination Folder - choose where the exported file will be saved on the local machine.
- Name - enter a name for the exported file.
- Format - select the desired output format:
- Click Export to start the job.
Export a Tag as Mesh
Mesh export is configured directly in the web app. Once submitted, processing runs in the background and the result is saved in the active work zone, where it can be found in the file structure.
The steps below apply from either Tag Explorer or Resource Explorer.
- Open 3D View with at least one scan visible.
- Toggle on a tag list and select a tag to export.
- Right-click the tag or click the three-dot icon next to the tag in the list.
- Select Export as mesh.

- In the pop-up menu that opens, fill in:

- Mesh name - enter a name for the exported file.
- Resolution - use the slider to set the minimum distance between mesh vertices. A finer value produces more detail but increases processing time and file size.
Select resolution (or density) from 2 cm (0.8 inches) to 20 cm (7.9 inches).- This is the minimum distance between two vertices.
- Be careful when selecting the resolution (see Unified Mesh Use Cases & Examples).
- Mesh format - select the output format:
Format Extension Notes FBX .fbxAutodesk Filmbox format. Ideal for Revit, Blender, and Unreal Engine. Lighter than OBJ. OBJ .objWavefront OBJ format. Widely supported by 3D modeling and visualization tools. STL .stlStereolithography format. Primarily used for 3D printing. Stores no color or texture. Open USD .usdUniversal Scene Description format. Ideal for collaborative pipelines such as NVIDIA Omniverse.
- Click Create. A confirmation message appears and processing begins in the background.

- Once processing is complete, an email notification is sent. The exported file is saved in the active work zone and is visible in the file structure under Data tab.
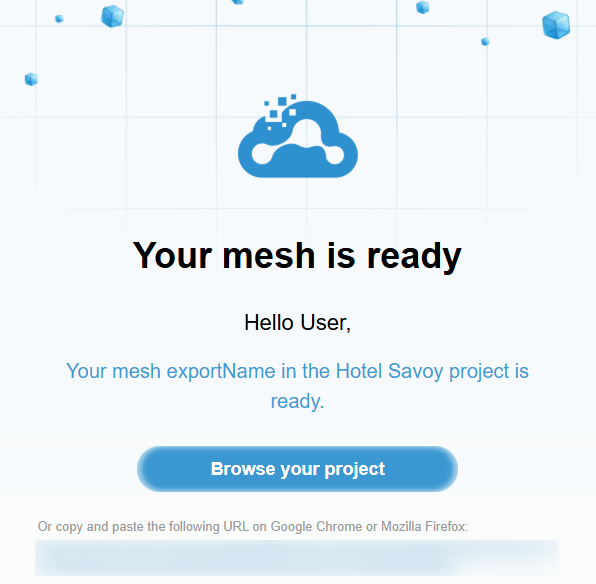
- Click on Browse your project button in the email or in Data tab, navigate to the work zone where source tag list resides, locate the ZIP file with the name of the tag, and click Download icon.

Limitations
- Only one tag can be exported at a time. Exporting multiple tags as separate objects in a single operation is not supported. To export several tags together, merge them into a complex tag first, then export the resulting complex tag.
- Export requires a tag with at least one bounding box. Tags without bounding boxes cannot be exported.
- Only visible scans within the tag's bounding box are included. Hidden scans are excluded.
- Export buttons are disabled when outside 3D View or when no scans are visible.
- For point cloud export, export processing time depends on the volume of scan inside the bounding box and selected spacing value.
- For mesh export, processing time and file size depend on volume of scan data and selected resolution.
Was this article helpful?
That’s Great!
Thank you for your feedback
Sorry! We couldn't be helpful
Thank you for your feedback
Feedback sent
We appreciate your effort and will try to fix the article