Create New Project
This article describes the workflow to follow to create a new project in Cintoo.
Permissions: only users with Project Manager role can create new projects.
1. In My Projects, click Create project at the top-right corner.
- If there is no Create project button visible on the top right corner of the My Projects page, then necessary permissions to create new projects are absent.
For more information, see: Setting Project Managers.

2. In Create project panel, fill in required fields and click Create. Fields marked by a red asterisk are obligatory to fill.
Account: account to host a project.
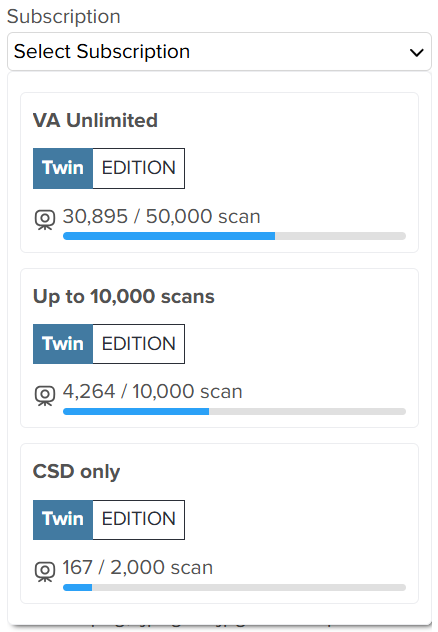
Subscription: subscription with a certain scan capacity that will be used for a project.
- If Automatic option is chosen, hosting is either in Europe or in US depending on Account location, with potential caching in any CDN (Content Delivery Network) point of presence.
- If Automatic option is not chosen, a region-specific Amazon Web Services (AWS) or Microsoft Azure data center can be selected for the project.
Name: name of a project.
Description: optional description of a project.
Location: project location defined as map coordinates or selected using map tool.
Spatial reference system: utility parameter for Cintoo + ESRI integration, that helps to position the data in ESRI project.
This parameter neither affects any data inside Cintoo project nor applies any transformations to the data inside Cintoo project.
Default value is null.
Cover image: optional thumbnail image for a project.
3. New project will now be visible on My Projects page.
See this article for information about opening Cintoo projects: Open a Project.
